


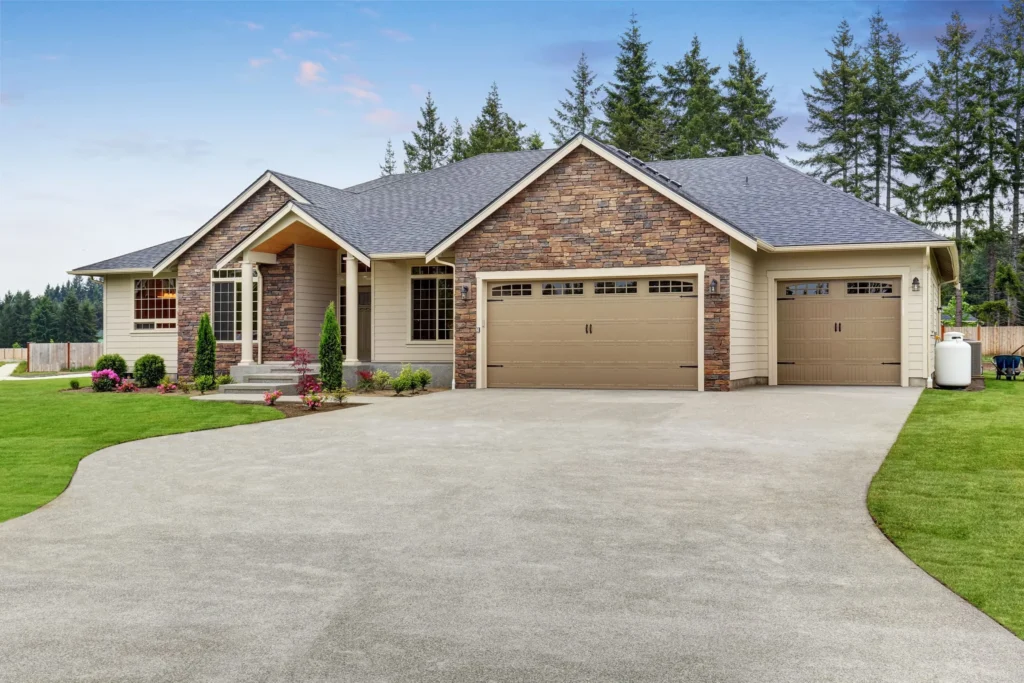
Short answer: in Calgary you need a development permit to extend or widen an existing driveway, you don’t need one to simply replace the driveway you already have, and how wide you’re allowed to go depends on how much frontage your lot has. The new concrete will not match the old concrete exactly, no matter who pours it — but there are a few ways to make that a design choice instead of an eyesore.
That’s the whole thing in a paragraph. Below is the detail, in the order most people actually need it.
Do you need a permit to widen your driveway in Calgary?
Yes, for widening. No, for replacing.
The City of Calgary draws the line clearly:
| What you’re doing | Development permit? |
|---|---|
| Building a new driveway | Yes |
| Extending or widening an existing driveway | Yes |
| Replacing an existing driveway (same footprint) | No |
That distinction catches people out. Tearing out a cracked driveway and pouring a new one in exactly the same shape is maintenance in the City’s eyes. Adding a metre and a half down one side so the second vehicle stops parking on the grass is a development, and it goes through an application.
The application itself is straightforward — a form, a public tree disclosure statement, and a site plan showing the driveway dimensions, including the length from the garage door to the property line and the width at both the throat and the flare. Extra requirements apply if your property has a lane and the driveway is accessing a street, or if you’re widening an existing driveway. Build the permit time into your plans; a good contractor will tell you the same thing before quoting a start date.
How wide can a Calgary driveway be?
The maximum depends on the width of your property’s frontage:
| Your frontage | Maximum driveway width |
|---|---|
| 9.0 m or less | 6.0 m |
| More than 9.0 m, up to 15.0 m | 7.0 m |
| More than 15.0 m | Unrestricted |
There are also minimum dimensions. A driveway connecting to a street has to be at least 6.0 m long in the direction of travel and at least 3.0 m wide — in plain terms, long enough that a parked car isn’t hanging over the sidewalk. A driveway connecting to a lane needs a minimum of 0.60 m in length measured from the inset of the garage door.
And there are locations where the City will refuse the application regardless of width. Yours won’t be approved if the driveway would sit within 5.0 m of a wheelchair ramp or crosswalk, within 0.5 m of a transit bus stop, or if it would access a major street or expressway. Restrictive covenants on your title can also block street access.
If you’re near any of those limits, it’s worth checking before you fall in love with a layout. Most of the disappointment in this process happens at the application stage, not at the pour.
The cost item nobody expects: the driveway crossing
Here’s where a widening project can change shape completely.
The driveway crossing is the piece where your private driveway meets the public road — it can include sidewalk, boulevard and curb and gutter. It belongs to the City, but the City is clear about who pays for it: property owners are responsible for all costs associated with constructing the driveway crossing. Anyone building a new or widened driveway has to apply for approval to Planning Services before construction.
The City’s own 2026 estimates for that work:
| Crossing type | Width | Estimated cost |
|---|---|---|
| Single driveway | 3.00 m | $8,000 |
| Double driveway | 6.70 m | $11,000 |
Read those numbers twice, because they’re often larger than the concrete work itself. If your widening project stops short of the curb — extending sideways behind the existing crossing, or adding a parking pad off the back lane — you may avoid this entirely. If it means cutting a new or wider opening through the curb and sidewalk, it belongs in your budget from day one.
This is the single most useful reason to talk to a contractor before you settle on a design. There is frequently a layout that gets you the parking you want on the property side of the sidewalk.
What the concrete itself costs
For the slab portion, Calgary pricing in 2026 sits roughly here, based on HomeStars’ Calgary price guide (updated 21 August 2026):
| Finish | Typical Calgary range (CAD) |
|---|---|
| Standard broom-finish driveway concrete | $4 – $16 per sq. ft. |
| Basic concrete | $4 – $8 per sq. ft. |
| Exposed aggregate | $8 – $12 per sq. ft. |
| Stamped concrete | $12 – $18 per sq. ft. |
What moves you within that range on a widening job specifically:
- The strip is narrow. A 1.5 m wide, 9 m long extension is about 145 sq. ft. That’s a small pour with the same mobilization, forming and finishing setup as a big one, so the per-square-foot rate is usually at the higher end. This is normal, not a markup.
- Access. If the excavator and the truck can reach it, the job is cheaper. If the strip runs between the house and a fence, more of it happens by hand.
- What’s underneath. Ground beside an existing driveway is often soft — it may have been landscaping, or a trench for a service line. It has to be excavated and compacted properly, and sometimes that means more gravel than expected.
- Removal. If any existing concrete or asphalt has to come out, that’s a separate line.
A realistic all-in budget for a modest side extension in Calgary, permit and slab, is usually in the low thousands — and then the crossing question above either applies or it doesn’t.
Will the new concrete match the old?
No. Not exactly, and it’s better to know that now.
Concrete colour comes from the cement, the sand and the gravel in the mix, plus how it was finished and how long it has weathered. A slab poured in 2009 has been through sixteen Calgary winters of sun, de-icing salt and freeze-thaw. A slab poured next month has been through none. Even with the same supplier and the same mix, the new pour will start lighter and slightly different in tone, and it will keep changing for a year or two as it cures and weathers.
What you can do about it:
- Let it be a deliberate line. Run the joint between old and new as a clean, straight, obviously intentional edge. A crisp line reads as design. A wandering one reads as a patch.
- Change the finish on purpose. Pour the extension in exposed aggregate or a broom pattern running the other direction, so the eye sees two materials rather than one mismatched one. This is the approach most people are happiest with a year later.
- Wait, then decide. Give the new slab a full season. Some of the difference closes on its own, and you’ll have a much better idea of whether you want to do anything else.
- Resurface both. An overlay across the whole driveway gives you one uniform surface. It’s a bigger job with its own trade-offs — our guide to resurfacing versus replacement walks through when it makes sense.
Anyone who promises you an invisible match is either going to resurface the whole thing or is going to disappoint you.
How the two slabs get joined
This is the technical bit, kept short, because it’s the difference between an extension that lasts and one that cracks along the seam in year two.
New concrete shrinks slightly as it cures. Old concrete has already finished doing that. If you bond them rigidly, the new slab pulls against the old one and something has to give.
Two accepted approaches:
- An isolation joint. The slabs are kept separate, with compressible material between them, and each is free to move independently. This is the usual choice for a side extension, and it means a visible line — see point 1 above.
- Dowels. Short steel bars are drilled into the edge of the existing slab so the two surfaces stay level with each other while still allowing some movement. Useful where a height difference between the slabs would be a trip hazard or would trap water.
Either way, the extension needs its own control joints at proper spacing so that the cracking that concrete always does happens where you put it. Our guide to control joints explains how that spacing is worked out.
One more thing, and it’s the one that causes neighbour disputes: a wider driveway sheds more water. Make sure the new slope carries it to the street or the lane, not toward your house, your garage or the property next door.
What to do next
If you’re thinking about widening, the order that saves the most money is:
- Measure your frontage and check it against the width table above.
- Decide whether your design can avoid touching the curb crossing.
- Get a contractor out to look at access, drainage and the state of the existing slab — before you apply.
- Apply for the development permit.
- Book the pour.
We’re a division of Omega 2000, and we do this work across Calgary, Airdrie, Okotoks, Cochrane and Chestermere. If you’d like someone to walk the driveway with you and tell you honestly whether widening or replacing makes more sense, have a look at our concrete driveway services and get in touch. The site visit is where most of these questions get answered properly.
FAQ
Do I need a permit to widen my driveway in Calgary? Yes. The City requires a development permit to extend or widen an existing driveway, or to build a new one. Replacing an existing driveway in the same footprint does not require one.
How wide can my driveway be? It depends on your frontage: up to 6.0 m if your frontage is 9.0 m or less, up to 7.0 m if your frontage is between 9.0 m and 15.0 m, and unrestricted above 15.0 m of frontage.
How much does a driveway crossing cost in Calgary? The City’s 2026 estimates are about $8,000 for a single crossing at 3.00 m wide and about $11,000 for a double at 6.70 m. Property owners are responsible for those costs.
Will my new concrete match the existing driveway? Not exactly. Age, weathering and small differences in the mix mean the new section will read as newer. The usual solutions are a clean deliberate joint line, a deliberately different finish, or resurfacing the whole driveway.
Can I just pour a parking pad off the back lane instead? Often, and it’s worth pricing. A parking pad doesn’t require a building permit, though if you plan to build a garage on it later, the driveway location and design rules still apply. It also usually avoids the curb crossing cost entirely.
How long before I can park on the new section? Follow the same timeline as any new driveway slab — walk on it within about a day, keep vehicles off for roughly a week, and be gentle with de-icing salt through the first winter.
Sources
- The City of Calgary, Driveways: https://www.calgary.ca/development/home-building/driveways.html
- The City of Calgary, Driveway crossing program: https://www.calgary.ca/roads/driveway-crossing.html
- HomeStars, How Much Does a Concrete Contractor Cost in Calgary? (updated 21/08/2026): https://www.homestars.com/flooring-tiles/price-guides/concrete-contractor-cost-calgary